Honeywell TH6210U2001 Installation Manual PDF: A Comprehensive Guide
Discover detailed instructions for your Honeywell thermostat! Access the official PDF, explore features, and ensure a smooth installation process for optimal home comfort․
Understanding the Honeywell TH6210U2001 Thermostat
The Honeywell TH6210U2001 is a widely utilized programmable thermostat designed for efficient home climate control․ This model offers users a balance between functionality and ease of use, making it a popular choice for both new installations and upgrades․ Understanding its capabilities is crucial for maximizing energy savings and maintaining a comfortable living environment․
Key to its operation is the ability to schedule temperature settings based on daily routines․ The thermostat supports various system types, including heating and cooling, and can accommodate different fuel sources․ Accessing the official installation manual PDF provides detailed insights into wiring configurations, programming options, and troubleshooting steps․ Honeywell’s commitment to quality ensures reliable performance and long-term durability․
Key Features and Specifications
The Honeywell TH6210U2001 boasts several key features, including a large, easy-to-read display and programmable 7-day scheduling․ It supports multiple system types – heat pump, forced air, and radiant – offering versatile compatibility․ Specifications include a temperature range of 40°F to 90°F (4°C to 32°C) and accuracy within ±1°F․
Power options include battery or hardwired (24VAC)․ The unit’s dimensions are approximately 4․7 x 3․1 x 1․2 inches․ Detailed specifications and feature explanations are readily available within the official installation manual PDF․ Honeywell prioritizes user-friendly design and reliable performance, making this thermostat a practical choice for residential heating and cooling management․
Safety Precautions Before Installation
Prior to installation, always disconnect power to your HVAC system at the breaker box to prevent electrical shock․ Carefully read the entire Honeywell TH6210U2001 installation manual PDF for comprehensive safety guidelines․ Avoid installing the thermostat in direct sunlight or near sources of extreme heat or cold․
Ensure hands are dry when handling wiring․ If you are uncomfortable working with electrical components, consult a qualified HVAC technician․ Improper wiring can damage the thermostat or your HVAC system․ Always follow local electrical codes and regulations․ The manual PDF details specific warnings and cautions to ensure a safe and successful installation process․

Tools Required for Installation
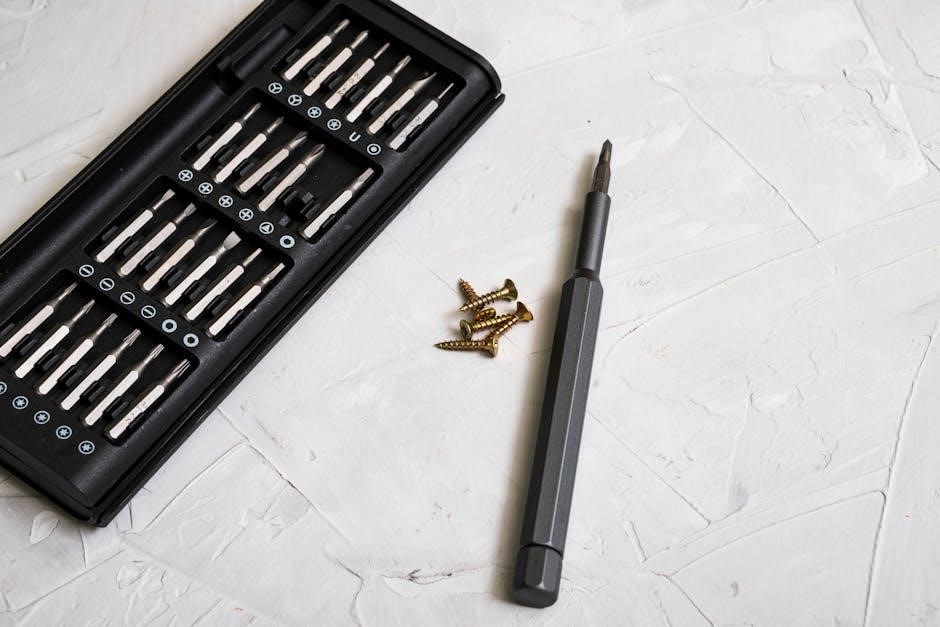
For a successful Honeywell TH6210U2001 installation, gather these essential tools․ You’ll need a small screwdriver – both flathead and Phillips head – to access and manipulate wiring terminals․ A wire stripper is crucial for preparing wires for connection, ensuring clean and secure joins․ A level will guarantee the thermostat baseplate is mounted straight, improving aesthetics and accuracy․
Additionally, a pencil is helpful for marking wire locations and mounting holes․ The official installation manual PDF recommends having a digital multimeter to verify power is off before handling wires․ Consider a voltage tester for added safety․ Finally, wire labels are vital for accurately identifying each wire during removal and reconnection, preventing errors․

Installation Process: Step-by-Step
Follow the manual’s clear, sequential instructions for removing your old thermostat, wiring the TH6210U2001, and mounting the new baseplate for a seamless setup․
Step 1: Removing the Old Thermostat
Begin by carefully turning off the power to your heating and cooling system at the breaker box to prevent electrical shock․ Remove the cover of your existing thermostat, often by gently snapping it off or loosening a screw․ Take a clear photograph of the existing wiring connections before disconnecting anything – this is crucial for accurate re-installation․
Carefully disconnect each wire, labeling them with the provided wire labels corresponding to their terminal designations (e․g․, R, W, Y, G, C)․ Ensure the labels are securely attached to each wire․ Remove the old thermostat baseplate from the wall․ Note any wall anchors or screws used for mounting, as you may need them for the new baseplate․ Double-check that the power remains off before proceeding․
Step 2: Identifying and Labeling Wires
Accurately identifying each wire is paramount for a successful installation․ Refer to the photograph taken during the old thermostat removal and the wiring diagram included with your Honeywell TH6210U2001; Common wire designations include R (power), W (heating), Y (cooling), G (fan), and C (common)․
Utilize the provided wire labels to clearly mark each wire․ Wrap the labels securely around the insulated portion of the wire, ensuring they won’t fall off․ If you encounter wires without clear markings, consult the Honeywell documentation or a qualified HVAC technician․ Incorrect wiring can damage your system․ Verify each label against the wiring diagram before proceeding to the next step․

Step 3: Connecting the Wires to the TH6210U2001
Carefully connect each labeled wire to the corresponding terminal on the Honeywell TH6210U2001 baseplate․ Ensure the wires are fully inserted into the terminals and securely fastened – a gentle tug confirms a solid connection․ Double-check your wiring against the diagram; incorrect connections can cause system malfunctions․
Avoid stripping the wires excessively, leaving approximately ¼ inch of exposed conductor․ Use a small screwdriver to tighten the terminal screws, but do not overtighten․ If a wire feels loose, re-strip and re-insert it․ Confirm all wires are connected before proceeding, referencing your initial wire labeling for accuracy․
Step 4: Mounting the Thermostat Baseplate
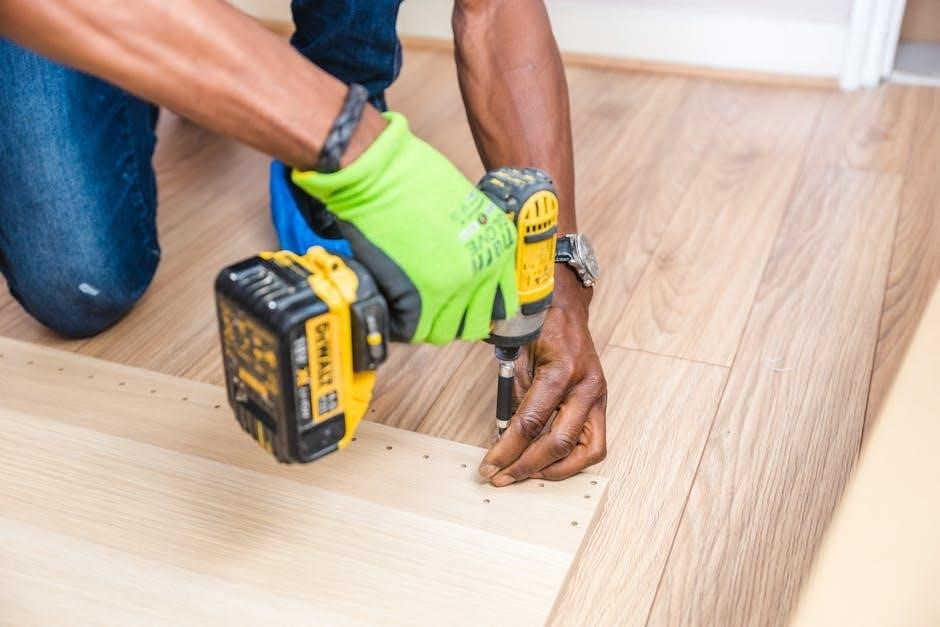
Position the TH6210U2001 baseplate on the wall, ensuring it’s level using a spirit level․ Mark the screw holes lightly with a pencil․ Pre-drill pilot holes at the marked locations, if necessary, especially for hard surfaces like plaster or tile․ Use the provided screws to securely attach the baseplate to the wall․
Ensure the baseplate is firmly mounted and doesn’t wobble․ If mounting on uneven surfaces, use shims to create a flush fit․ Conceal any exposed wiring within the wall opening․ Verify the baseplate is correctly aligned before proceeding to the next step, guaranteeing a neat and functional installation․

Powering Up and Initial Configuration
Activate your thermostat! Install batteries or connect to power, then set the correct date and time, and configure your heating/cooling system type․
Step 5: Installing Batteries or Connecting to Power
Begin powering your Honeywell TH6210U2001 thermostat by either installing fresh batteries or connecting it to your home’s existing power source․ If utilizing batteries, typically two AA batteries are required; ensure correct polarity during installation as indicated within the battery compartment․
For hardwired installations, verify the power is switched OFF at the breaker before proceeding․ Carefully connect the thermostat to the wiring harness, ensuring a secure connection․ Once connected, restore power at the breaker․ The thermostat should power on and display the welcome screen․
Always consult the official installation manual PDF for specific wiring diagrams and battery requirements related to your particular system configuration․
Step 6: Setting the Date and Time
Accurate date and time settings are crucial for proper scheduling and operation of your Honeywell TH6210U2001 thermostat․ Upon initial power-up, the thermostat will likely prompt you to set the current date and time․ Navigate through the thermostat’s menu using the control buttons – typically up, down, left, and right, along with a select or enter button․
Carefully adjust the month, day, year, hour, and minute until they reflect the correct information․ Confirm each setting by pressing the select or enter button․ Refer to the official installation manual PDF for detailed instructions specific to your model, as menu navigation can vary slightly․
Step 7: Configuring System Type (Heating/Cooling)
Properly configuring your system type – whether you have heating, cooling, or both – is essential for the Honeywell TH6210U2001 to function correctly․ Access the system configuration menu through the thermostat’s settings․ You’ll typically be presented with options like “Heat Only,” “Cool Only,” “Heat Pump,” or “Conventional․”
Select the option that accurately describes your home’s HVAC system․ Incorrect configuration will lead to improper operation and potentially discomfort․ Consult the official installation manual PDF for detailed guidance and diagrams․ If unsure, identify your system type before proceeding․ Accurate setup ensures efficient and reliable temperature control․
Advanced Settings and Programming
Unlock full potential! Explore scheduling, fan control, and hold functions within the Honeywell TH6210U2001․ Refer to the installation manual PDF for details․
Step 8: Programming Schedules for Temperature Control
Efficiently manage your home’s climate by programming customized temperature schedules with the Honeywell TH6210U2001․ The installation manual PDF provides a detailed walkthrough of this process, allowing you to set different temperatures for various times of the day and days of the week․ This feature optimizes energy usage and ensures comfort when you’re home, while conserving energy when you’re away․
You can create unique schedules tailored to your lifestyle, such as lower temperatures during sleep or while at work․ The thermostat supports multiple schedules, offering flexibility for varying routines․ Consult the manual for specific instructions on accessing the programming menu, setting time periods, and assigning desired temperatures․ Mastering this function significantly enhances the thermostat’s energy-saving capabilities and personalizes your home comfort experience․
Step 9: Understanding Fan Control Options
The Honeywell TH6210U2001 offers versatile fan control options to enhance your indoor air quality and comfort․ The installation manual PDF details these settings, including “Auto” and “On” modes․ In “Auto” mode, the fan operates only during heating or cooling cycles, conserving energy․ Selecting “On” keeps the fan running continuously, promoting consistent air circulation and potentially improving air filtration․
Understanding these options allows you to tailor the system to your specific needs․ Continuous fan operation can distribute air more evenly throughout your home and help reduce humidity․ The manual provides guidance on accessing the fan control settings within the thermostat’s menu․ Experiment with both modes to determine which best suits your preferences and optimizes your home’s environment․
Step 10: Utilizing the Hold Function
The Honeywell TH6210U2001’s “Hold” function, detailed in the installation manual PDF, allows temporary overrides to your programmed schedule․ This is useful for unexpected changes in occupancy or weather․ You can activate “Hold” to maintain a specific temperature indefinitely or for a defined duration․ The manual explains how to access and configure the “Hold” feature through the thermostat’s interface․
Selecting “Hold” overrides the scheduled program until you choose to resume it․ This prevents the thermostat from reverting to the preset schedule during your desired hold period․ The PDF clarifies the different “Hold” options available, ensuring you can effectively manage your home’s temperature based on immediate needs, providing convenience and energy savings․

Troubleshooting Common Issues
Refer to the Honeywell TH6210U2001 installation manual PDF for solutions to frequent problems like power loss or inaccurate readings, ensuring optimal performance․
Step 11: Addressing No Power Issues
If your Honeywell TH6210U2001 thermostat displays no power, consult the installation manual PDF for a systematic approach to diagnosis․ Begin by verifying the power source – check battery installation if applicable, ensuring correct polarity․ For hardwired systems, confirm the breaker hasn’t tripped and the power supply is functioning correctly․
Inspect the wiring connections at both the thermostat and the HVAC system, referencing the wiring diagram in the manual․ Loose or disconnected wires are a common cause․ If using a C-wire, ensure it’s properly connected․ A faulty transformer can also prevent power; the manual details how to test this․ If issues persist, the thermostat itself may be defective, and professional assistance might be required․ Always prioritize safety when working with electrical components․
Step 12: Resolving Incorrect Temperature Readings
Inaccurate temperature readings on your Honeywell TH6210U2001 can stem from several factors․ The installation manual PDF provides guidance on calibration procedures․ First, ensure the thermostat isn’t exposed to direct sunlight, drafts, or heat-generating appliances, as these influence readings․ Verify proper airflow around the unit; obstructions can cause inaccuracies․
Check for correct thermostat placement – it should be on an interior wall, away from external influences․ Utilize the thermostat’s settings to calibrate the temperature if a consistent offset exists․ If the problem persists, inspect the temperature sensor for damage․ A faulty sensor requires replacement․ Refer to the manual for specific troubleshooting steps and potential solutions related to sensor issues․
Resources and Support
Find helpful resources! Access the official Honeywell support website and download the TH6210U2001 installation manual PDF for assistance and warranty details․
Step 13: Accessing the Honeywell Support Website
For comprehensive assistance with your Honeywell TH6210U2001 thermostat, the official Honeywell support website is an invaluable resource․ You can typically find it by searching “Honeywell Home” or “Honeywell Support” on your preferred search engine․ This website provides a wealth of information, including frequently asked questions (FAQs), troubleshooting guides, and downloadable resources like the installation manual PDF․
Navigating the support site allows you to search specifically for your thermostat model to ensure you receive the most relevant information․ Look for sections dedicated to installation, programming, and common issues․ Honeywell often provides video tutorials and detailed diagrams to aid in understanding the setup process․ Furthermore, you may find contact information for direct support from Honeywell representatives if you require personalized assistance with your TH6210U2001․
Step 14: Finding the Official Installation Manual PDF
Locating the official Honeywell TH6210U2001 Installation Manual PDF is crucial for a successful setup․ Start by visiting the Honeywell Home website (search “Honeywell Home” online)․ Navigate to the support section and search for your specific thermostat model number – TH6210U2001․ The PDF manual is usually listed under “Downloads” or “Documents”․
Alternatively, a direct web search using terms like “Honeywell TH6210U2001 manual PDF” will often yield results linking directly to the official document․ Ensure the source is legitimate (Honeywell’s official domain is preferred) to avoid downloading potentially harmful files․ The PDF contains detailed diagrams, wiring schematics, and step-by-step instructions essential for correct installation and operation of your thermostat․
Step 15: Warranty Information

Your Honeywell TH6210U2001 thermostat is covered by a limited warranty, protecting against manufacturing defects․ The specific duration and terms are detailed within the official installation manual PDF, typically found on the Honeywell Home support website․ Generally, Honeywell offers a one-year warranty from the date of purchase․
To make a warranty claim, retain your proof of purchase (receipt) and contact Honeywell Customer Care․ The manual PDF outlines the process, including required documentation and contact information․ Warranty coverage usually includes repair or replacement of the defective unit, but excludes damage caused by improper installation, misuse, or unauthorized modifications․ Review the full warranty details in the PDF for complete information․